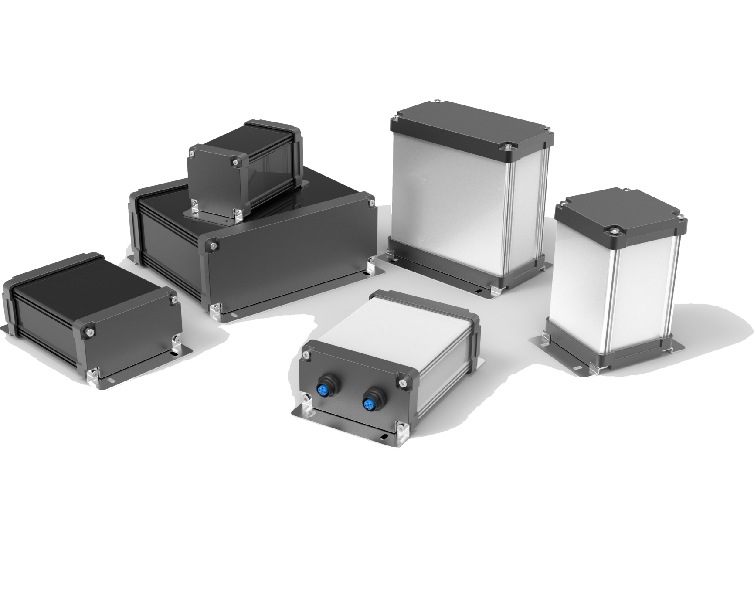
Water proof junction boxes have a good sale and popular in the enclosure market. In the maket, the waterproof boxes of YONGUCase can meet the needs of customers very well. Next introduce the structure features, dimension, application, process of waterproof boxes.
Structural Features of Waterproof Junction Box Electrical
Features |
Purpose |
|
All-in-one |
seamless, expensive mold |
|
Wall thickness 2.5mm, end cap thickness 3mm |
press the sealing ring |
|
The opening of the screw hole is outward |
to prevent the screw hole from leaking |
|
Brackets can be installed |
can be used for desktop applications |
Main Dimensions of Weatherproof Electrical Enclosures
Main Dimensions |
Precautions |
|
Width and height dimensions pay attention to interior
|
interface installation space |
|
The hole distance of the mounting bracket
|
the installation space of the waterproof case
|
|
The smallest screws are M3 and other M4
|
small screws for small shells
|
|
The cross-sectional size is rectangular or square, and there is a large cut corner
|
the internal installation space needs to be verified |
Application of Waterproof Enclosure
Areas OF Application |
Focus ON Limitations |
|
Outdoor waterproof electrical appliances
|
interface devices must be waterproof |
|
Immerse electrical appliances in water
|
it is recommended that the immersion depth should not exceed 3 meters |
|
Indoor humid environment
|
can only adapt to weak acid and weak alkali |
|
The metal shell is strong and pressure-resistant
|
it will shield electromagnetic waves |
Process of Waterproof Outdoor Enclosure
Process Content |
Process Points |
|
The shell length can be cut
|
the new sawing machine cuts to ensure the end face is flat |
|
The end caps are die-cast aluminum. Do not oxidize, only spray
|
stock and polish, and cnc open holes according to customer requirements |
|
Shell, end caps require grinding and deburring
|
deburring can be followed to enhance sealing |
|
CNC holes can be made on the shell
|
pay attention to ensure that the shell is not deformed during processing |
Precautions
Assembly Steps |
Essentials |
|
Check whether the dispensing seal is broken or not
|
do not pick the seal with your fingernails |
|
The interface parts on the end caps require sealing measures
|
interface seals, or sealants |
|
Tighten the end cap screws evenly, no one side is lifted
|
tighten the screws in diagonal order |
|
The screws should be screwed in perpendicular to the end cap
|
check the alignment of the through holes and the screw holes before installing the screws |
If you are interested welcome to contact us.


